Blitz News Digest
Stay updated with the latest trends and insights.
The Surprising Truth About Your Leaky Faucet
Discover the hidden costs of your leaky faucet and the shocking truth behind those drips—your wallet will thank you!
Why Is My Faucet Leaking? Common Causes and Their Solutions
A leaking faucet can be a frustrating problem for any homeowner. Understanding why your faucet is leaking is the first step towards effectively resolving the issue. Common causes include worn-out washers, O-rings, or seals that have degraded over time. Additionally, corrosion or mineral buildup can lead to leaks in older faucets. Here are a few common causes of faucet leaks:
- Worn Washers: Washers are the most common culprits. They can wear out due to age and repeated use.
- Damaged O-rings: These rubber rings sit on the stem screw and can become brittle and break.
- Corroded Valves: Over time, the valve seat can become corroded, resulting in leaks.
Once you identify the cause of the leak, you can take appropriate action. For instance, replacing worn washers or O-rings is often a straightforward repair that you can do yourself. If the valve seat is corroded, you may need to replace the entire faucet or seek professional help. Ignoring a leaking faucet can lead to increased water bills and potential water damage, so it's essential to address the problem promptly. Here's how you can tackle these common issues:
- Replace Washers: Turn off the water supply, disassemble the faucet, and replace the washers.
- Change O-rings: Remove the handle and replace the O-ring carefully.
- Fix Valve Seats: Use a seat wrench or replace the faucet if necessary.

The Hidden Costs of Ignoring a Leaky Faucet
Ignoring a leaky faucet may seem like a minor inconvenience, but the hidden costs can quickly add up. A single drip may seem insignificant, yet it can waste over 3,000 gallons of water per year. This not only leads to higher water bills but also contributes to unnecessary strain on local water resources. Over time, these increased utility costs can accumulate, making that small leak far more expensive than anticipated. Moreover, the constant dripping can lead to additional plumbing issues and the need for costly repairs if the problem escalates.
Additionally, a leaky faucet can create a favorable environment for mold and mildew, which poses health risks to your family and necessitates even more expense for remediation. Ignoring a leaky faucet can result in damage to cabinetry and walls, leading to potential structural issues in your home. In extreme cases, the cumulative damage may require extensive renovations, all of which could have been avoided with timely attention to the leak. By addressing the situation promptly, homeowners can save themselves from these hidden costs and protect both their finances and their health.
5 Easy Steps to Fix Your Dripping Faucet Like a Pro
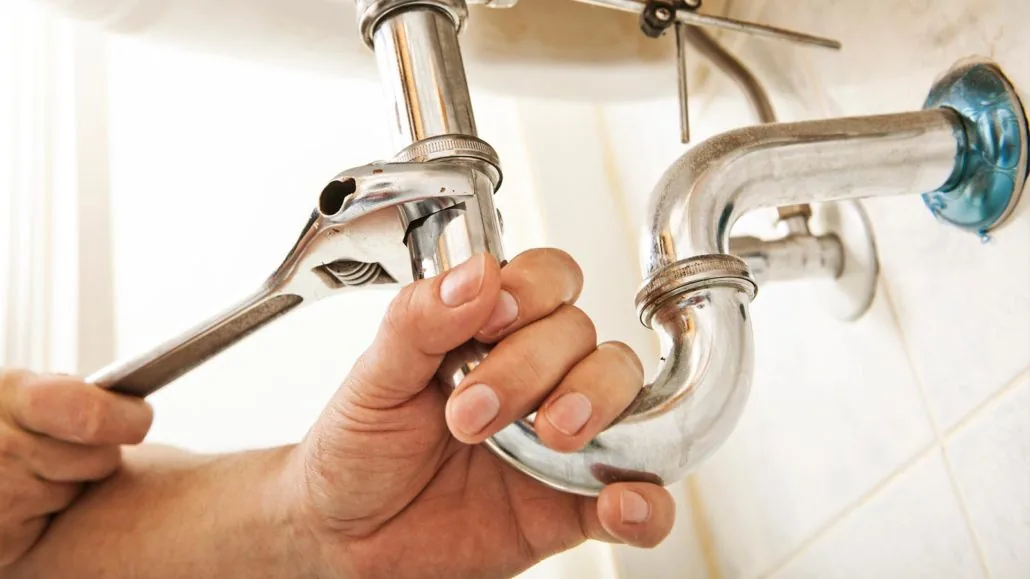
Fixing a dripping faucet may seem challenging, but with the right approach, you can tackle it like a pro! Start by gathering your tools: you will need an adjustable wrench, a screwdriver, plumber's grease, and replacement parts, depending on the faucet type. Once you have everything ready, turn off the water supply to the faucet to prevent any flooding while you work. Next, open the faucet to release any remaining water pressure and begin your repair with confidence.
Now that you’re set up, disassemble the faucet by removing the handle and using the wrench to unscrew the packing nut. Carefully inspect the washers and O-rings, as these are often the culprits behind drips. Replace any worn or damaged components, reassemble everything in reverse order, and turn the water supply back on. Finally, test the faucet to ensure that your repair was successful and enjoy the satisfaction of a job well done!