Blitz News Digest
Stay updated with the latest trends and insights.
OBS Shenanigans: Make Your Streams Pop
Unlock the secrets to eye-catching streams! Discover tips and tricks to transform your OBS setup into a viewer magnet.
10 Must-Know OBS Settings for Stunning Live Streams
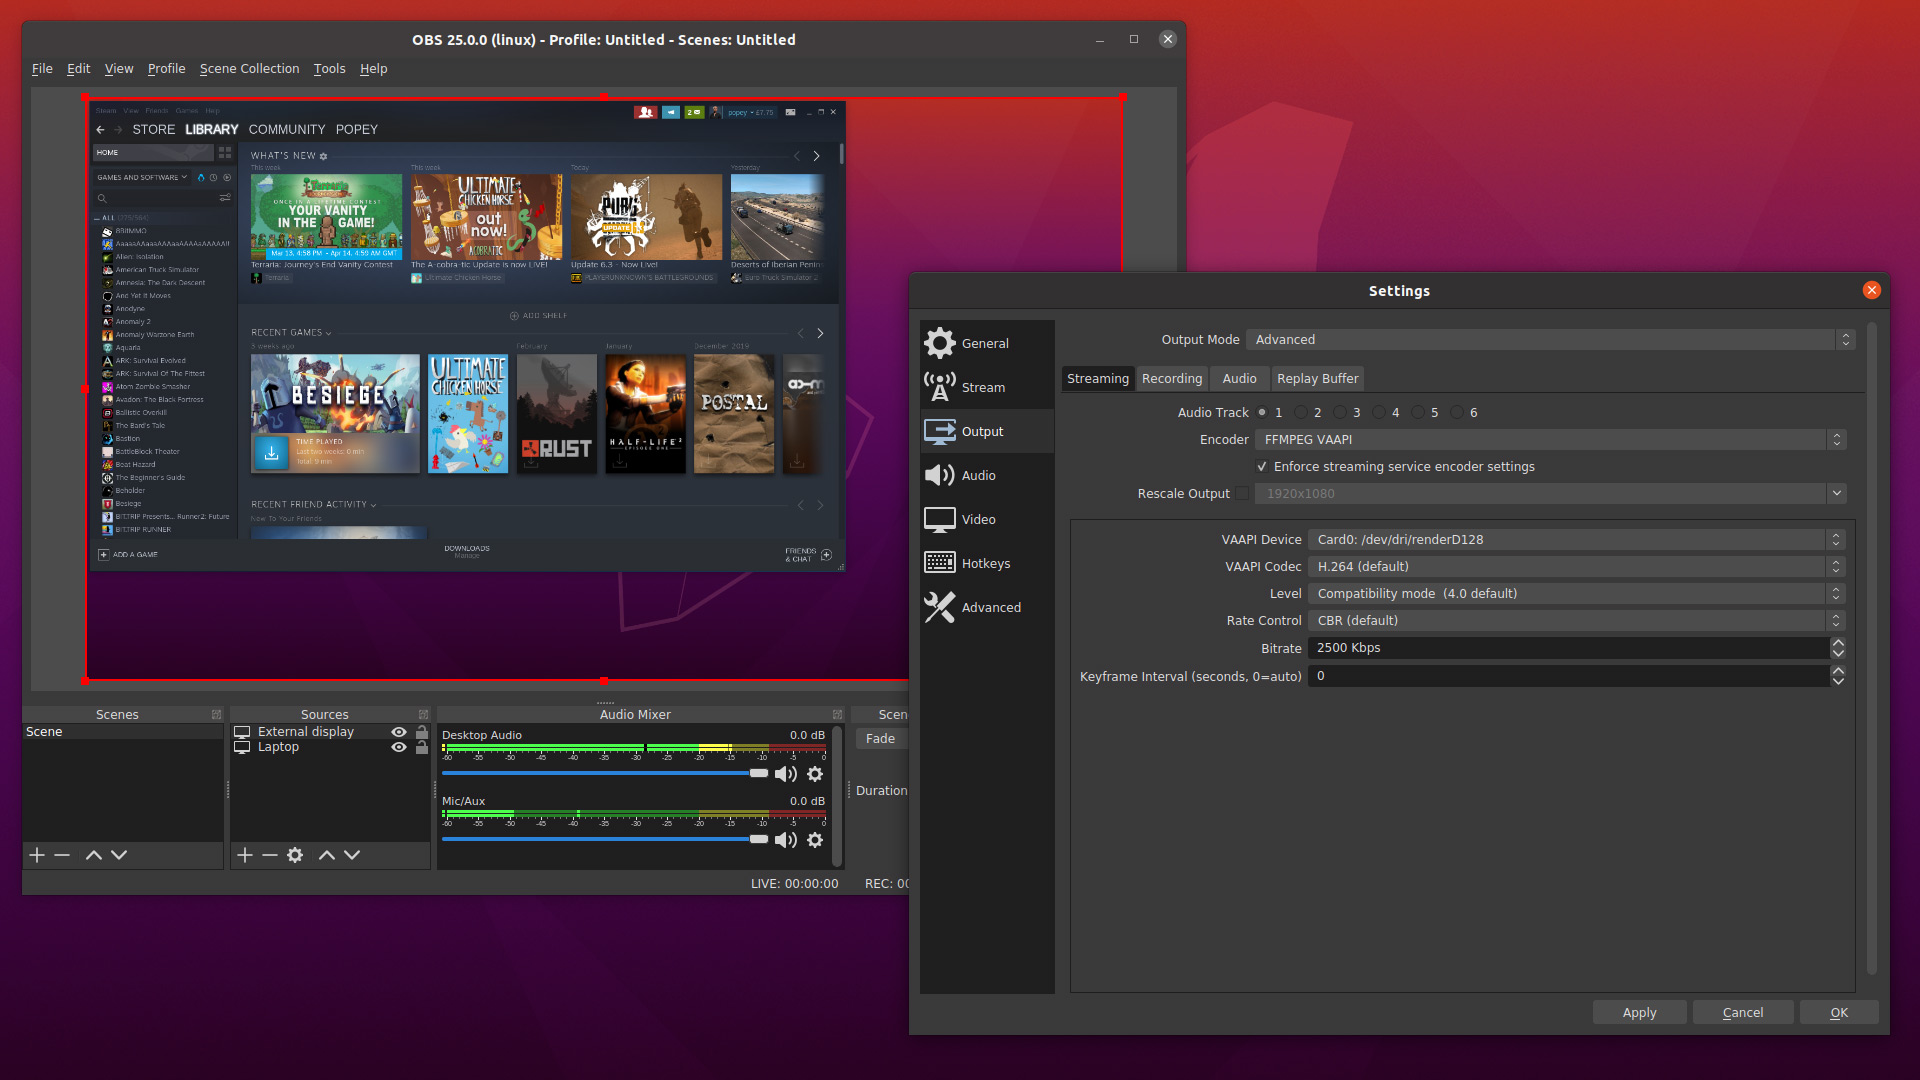
When it comes to live streaming, having the right settings in OBS (Open Broadcaster Software) can make a significant difference in the quality of your stream. First and foremost, ensure that you have the proper resolution set for your stream. The recommended resolution for most platforms is 1920x1080 for high-quality broadcasts. Additionally, consider your FPS (frames per second); a setting of 30 FPS is generally a good target, but if your internet connection and system can handle it, you might aim for 60 FPS for a smoother viewing experience. It's essential to strike a balance between quality and performance based on your hardware capabilities.
Another crucial aspect of OBS settings involves configuring your bitrate. A higher bitrate will yield better quality but can also increase buffering for viewers with slower connections. For 1080p at 30 FPS, a bitrate around 4500 Kbps is often recommended, while 60 FPS streams may need around 6000 Kbps. Don't forget to explore the audio settings as well; setting your audio bitrate to 160 Kbps will provide a clear sound experience for your audience. Finally, familiarize yourself with the encoder settings, as choosing between software (x264) and hardware (NVENC or AMF) encoding can also impact the performance and quality of your live streams.

How to Add Custom Alerts and Overlays in OBS: A Step-by-Step Guide
Adding custom alerts and overlays in OBS is essential for enhancing the visual appeal of your livestreams. To start, you will need to set up a browser source in OBS. Go to the Sources panel, click the + button, and select Browser. In the window that opens, input the URL of your alert service, such as Streamlabs or StreamElements. Make sure to adjust the width and height to match your stream layout. After saving the changes, you will see the overlays appear in your OBS scene, which can be repositioned and resized as necessary.
Once you have your browser source set up, you can customize the alerts to fit your style. Most alert services allow you to modify graphic designs, sounds, and animations. Navigate to the settings of your alert service dashboard, where you can preview changes in real-time. To ensure your alerts trigger correctly during streams, perform a test alert through the dashboard. This process guarantees that everything is functioning seamlessly and that your audience will experience the excitement of your overlays as intended.
Are You Making These Common OBS Mistakes?
When it comes to using OBS (Open Broadcaster Software), many beginners fall into the trap of making common mistakes that can significantly impact their streaming or recording quality. One of the most frequent errors is failing to optimize the settings for your specific hardware. Not adjusting the bitrate, resolution, and frame rate can result in poor video quality or excessive buffering. Make sure to assess your system's capabilities and adjust the settings accordingly for the best performance.
Another prevalent mistake is neglecting to organize your scenes and sources. Cluttered scenes can lead to confusion during a live broadcast, resulting in missed transitions or awkward cuts. To avoid this, take the time to create a clear layout, labeling each scene and source effectively. Additionally, regularly review and refine your setup to ensure everything is running smoothly. Implementing these practices will enhance your overall streaming experience and engage your audience more effectively.